
Spend your money wisely: buy yourself (and your family) a server instead of new laptops
Recently my girlfriend started working an internship at an architecture firm and my sister started her apprenticeship in university. Both of them need Windows for their work (🤮) but unfortunately both of them daily drive an iPad.
At first I started looking for old laptops around the house but I quickly gave up because they were all too old and slow to run Windows. Then a thought came to my mind:
Why not use a VM and have my sister and girlfriend access it remotely?
I thought this was the perfect moment to start digging deeper into the “Virtualization” functionality offered by TrueNAS SCALE!
The plan is quite simple: create a Windows 11 VM that can be remotely accessed through tailscale using RDP (Remote Desktop Protocol).
This process can sound quite straight forward and at the end of the day it is, but it works so well that I decided to write this article to share my experience and how I set up and debloat Windows.
Before you start
All you need to accomplish this is a working windows 10/11 installation since we’ll need it to craft the ISO. If you don’t have one you can just run it in a disposable VM or look into Windows debloating post install. Other than that you’ll just need a server running a OS capable of virtualization such as TrueNAS SCALE and a tailscale account.
Collecting the ingredients
Windows ISO
Since we want to install Windows the first thing we need is an ISO, To get it we can head over at microsoft.com pick the language for the OS and download the ISO.
Now the fun part! Debloating! As you probably know Windows is filled with bloatware: apps and services that you don’t want, don’t need and won’t ever use that will just slow you computer down until you get frustrated and throw it out the window(s).
Fortunately for us this whole process can be automated using a tool such as
winutil created by Chris Titus. Launching winutil is as easy as:
irm https://christitus.com/win | iex
This will spawn the following window:
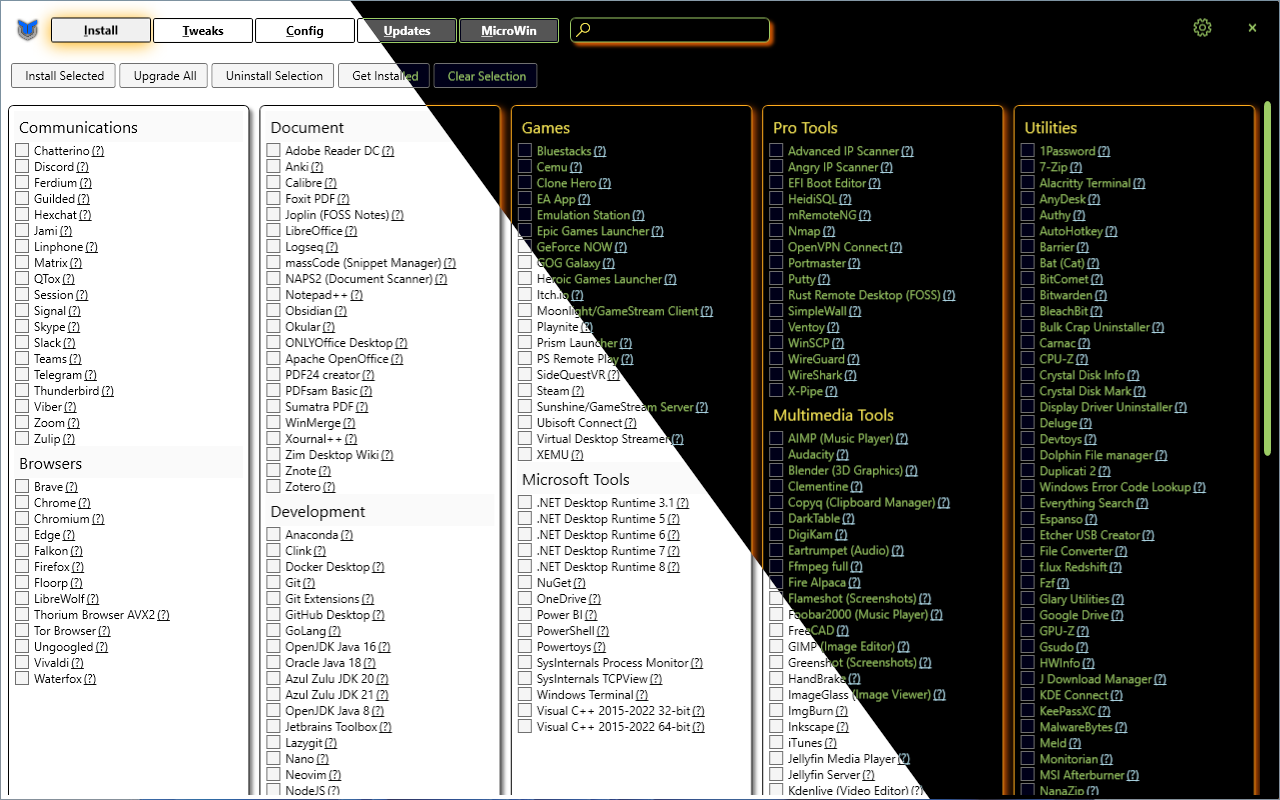
From here we can select the MicroWin tab and click “Select Windows ISO”
after picking the ISO we just downloaded the tool will take a short while to
load it, once it’s done we can optionally untick Defender and Edge to remove them
from the ISO (I did) and start creating the debloated ISO!
I later found out that “Egde” is required to run “Microsoft Teams” but it’s also possible to run it in the browser.
Hypervisor
As stated in the first few lines of this article, investing in a small personal server can end up saving you a lot of money, it can serve your media files, serve as a back up vault, keep files in sync files on your devices and much much more. In this specific case we will need a server OS capable of virtualization, TrueNAS SCALE (the OS I run on my server) supports this functionality.
In my case, since my OS also supports snapshots, I decided to create a base VM from which I can create clones in case I need a new fresh Windows installation. I created the VM with the folowing specs:
- 1 vCPU
- 6 Cores, with 2 threads each
- 12GB of RAM
When possible, run your VMs on a SSD or NVMe drive, this will make the experience much smoother and snappier.
VM Setup
After installing the previously created ISO, I created an admin account and after
all the latest updates were installed I ran the winutil tool once again, to apply
the “Desktop tweaks” in the “tweaks” tab.
Fun fact: nowadays, activating Windows is as easy as running this in powershell:
irm https://massgrave.dev/get | iex
And just like that we have a working Windows 11 VM that we can snapshot everytime we need a fresh install.
For my usecase I installed tailscale and followed the instructions on their website
to set up RDP and
launch it at startup
At this point, all that was left to do was to create local accounts on the VM for my sister and girlfriend, set up their tailscale accounts and finally share the VM node with them from the admin console of my tailscale account.
RDP
Finally I had them download tailscale and Microsoft Remote Desktop on their iPads. After logging in and connecting to tailscale and creating a new connection to the IP indicated by tailscale withing the RDP app they were able to connecto to the VM and login to their accounts on Windows! Making their iPads feel like a Windows laptop!
Final Thoughts
I was surprised by how easy it was to set this all up and by how well tailscale handles the RDP connection. When connected to a good wifi the latency is almost unnotticeable and the experience is quite smooth.